
Selected Check Date
Payroll Status
Open and Edit Payroll
- Reset Payroll Status
Payroll Notes
Manual Check
Print Checks
Selected Check Date
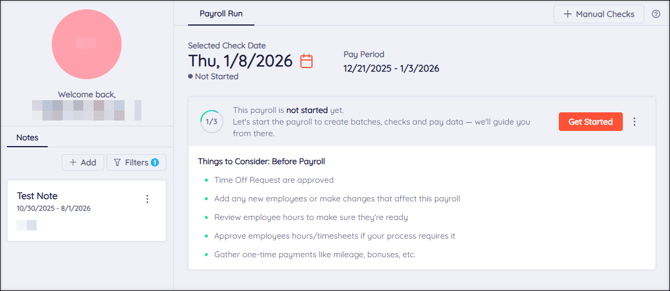
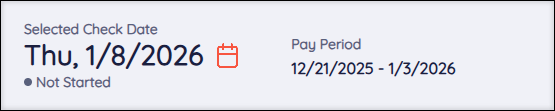
This section of the dashboard displays the selected check date and pay period. This will always default to the next unprocessed payroll.
Change the Selected Check Date by selecting the Calendar ![]() icon. The Select a Check Date aside will appear. Here, you can change the check date and view the status of previous check dates.
icon. The Select a Check Date aside will appear. Here, you can change the check date and view the status of previous check dates.

Important:
-
The Check Date is the date the paychecks are sent out.
-
The Pay Period is the set of dates tied to a Check Date. Employees will receive payment for hours worked during the Pay Period on the associated Check Date.
Payroll Status
We help you track where you are in the payroll process with our Payroll Status. These steps show on the Payroll Dashboard and track your progress through the Batches, Import, Review & Submit, and Review pages.
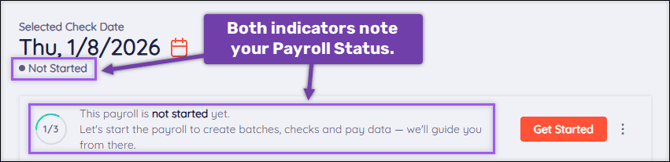
- Status 1: Not Started → The payroll for the Selected Check Date has not been opened or started.
- Status 2: Open → The payroll for the Selected Check Date has been opened. Some payroll data may have been entered. When a payroll is Open, it can be reset to Not Started.
- Status 3: Submitted → The payroll for the Selected Check Date has been submitted by a member of your administration. At this stage, your payroll is actively being processed by Checkwriters.
- Once the payroll has been processed at Checkwriters, the final status will show as “Processed”.
Tip: Following each step of the payroll process, we’ll suggest helpful tips in the Things to Consider section of the dashboard. These reminders will help you remember the little things and ensure your payroll process is as smooth as possible.
Open and Edit Payroll
Select Get Started to open a payroll that hasn’t been started yet. After a payroll has been started, select Enter & Review to proceed to the Batches page.


Reset Payroll Status
When a payroll check date is Open, you can reset the status to Not Started by selecting the menu ![]() , then selecting Reset Payroll Run. This will reset all data associated with the check date, including checks, imports, time off, and attendance (excluding Manual Checks).
, then selecting Reset Payroll Run. This will reset all data associated with the check date, including checks, imports, time off, and attendance (excluding Manual Checks).
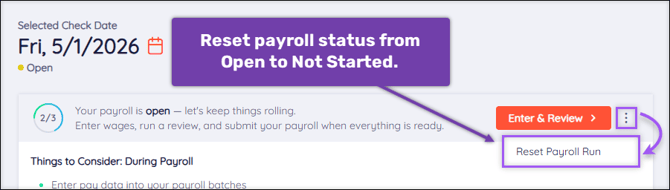
Tip: This option is useful if a Check Date was opened earlier than it should have been.
Payroll Notes
Payroll Notes can be used to keep track of important information about your payroll.

Select Add to create a new note. In addition to the editing note content, you can name the note, enter a Post Date, and an Expiration Date.
- Select menu
 on a note to edit or delete the note.
 - Select Filter to filter notes using a specific date range or by all Upcoming notes, all previous notes (History), all notes applicable Today, or All notes.
- Select the down arrow on a note to expand and view the full note.
Manual Check
Select the Manual Check button to create a new gross-to-net or net-to-gross Manual Check. This creates a single check outside of a regularly scheduled payroll that is printed at your company and will not produce a live check sent out by Checkwriters.

More Info: Learn more about Manual Checks.
Print Checks
If your company has the ability to print payroll checks using Checkwriters check stock, you can do so after the payroll has been processed by selecting Print Checks on the dashboard.

This will redirect you to Reporting (module) → Print Checks, where you can select a check date to print. Check dates will populate after the associated payroll has processed.
