
Adding Labor Allocations to an Employee
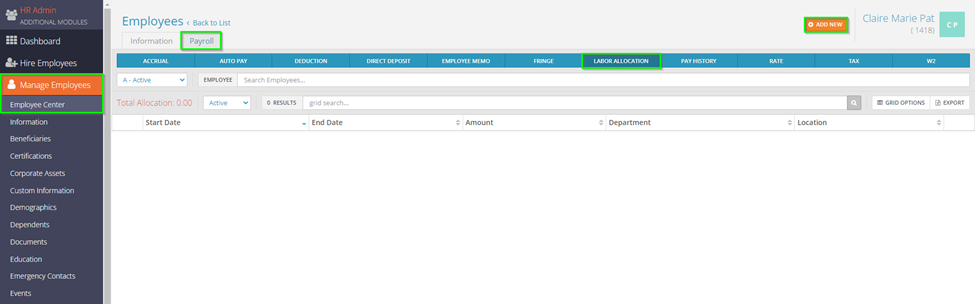
Select the employee you would like to edit under Manage Employees > Employee Center in the HR Admin module. Navigate to their Labor Allocation tab. You will see any current labor allocations the employee has set up. To add new allocations, select Add New in the top right.
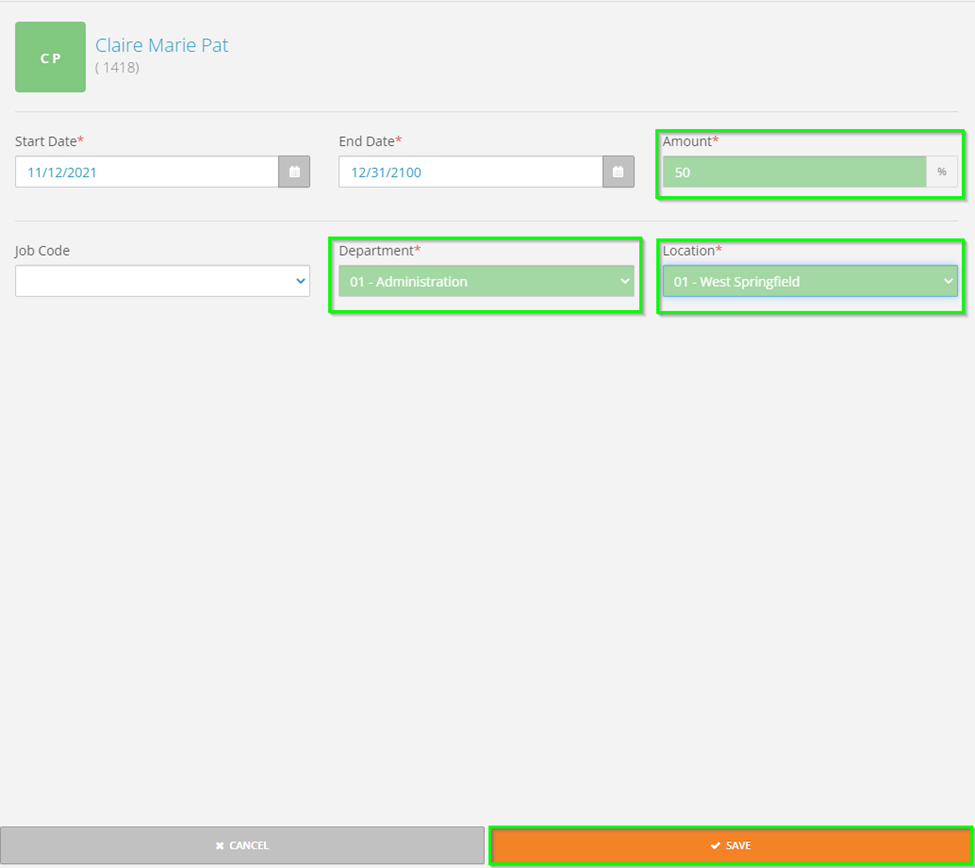
The next screen will contain fields for you to determine your employee’s allocations. The required fields would be the Amount and Cost Centers. In this example, we have two cost centers set up (Department, Location). You may have one cost center, or you may have up to five.
Type in the percentage you would like the hours and wages to be reported to and then pull in each cost center. Once finished, select Save. The Job Code typically does not get changed, unless you need to have the hours/wages reported to a specific job in addition to the cost centers.
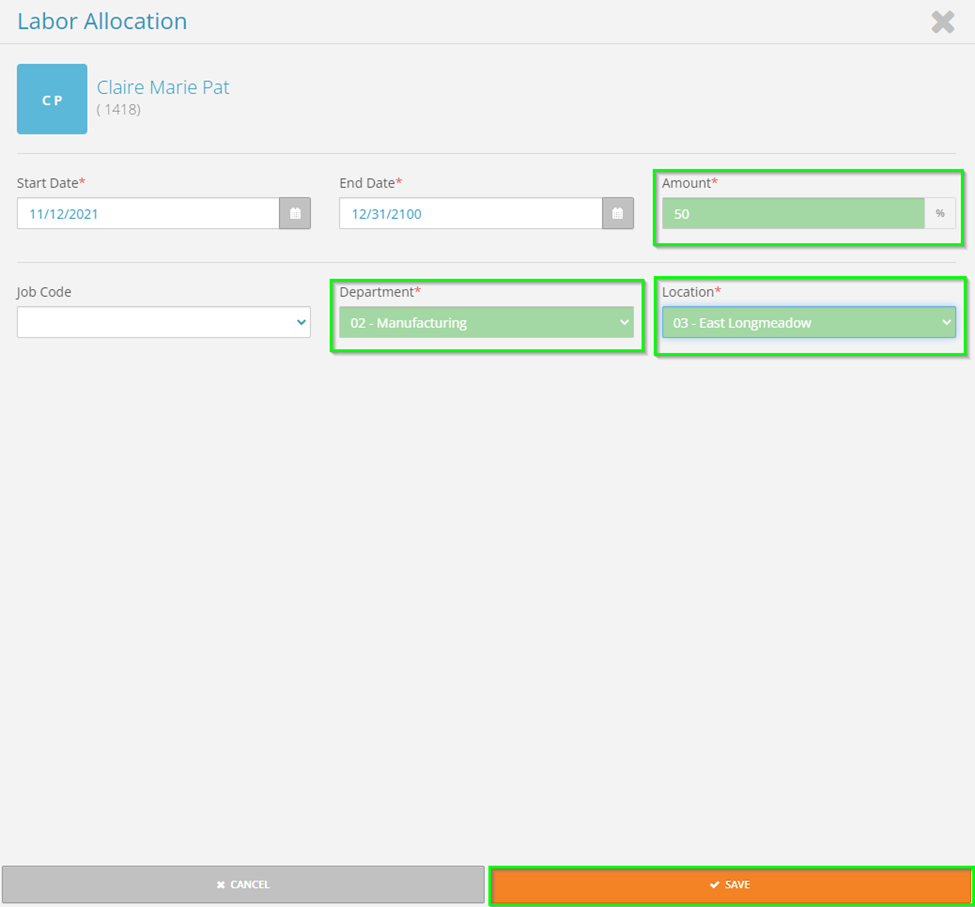
The Start Date defaults to your next check date. The end date defaults to 12/31/2100. If the allocation should only apply for a definite length of time, these dates can be changed to reflect that. Below are screenshots of two successfully added allocations (50/50).
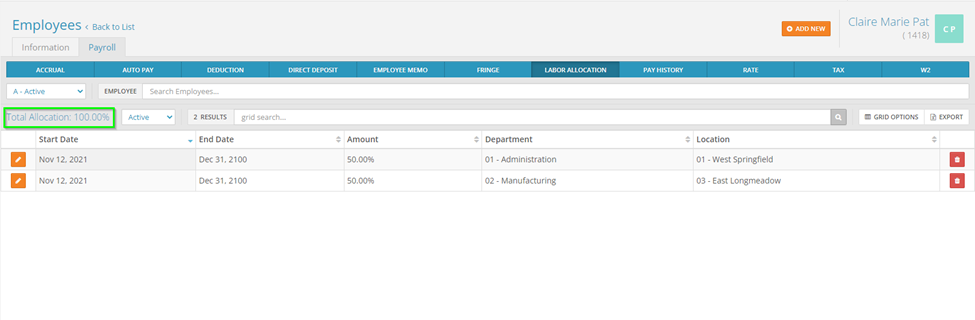
You will see that the total allocation is now at 100%. The Total Allocation should always equal 0% (if the employee doesn’t have any allocations) or 100% when you process payroll. A payroll cannot process with a number in between the two or greater than 100%.
Once the allocations are set, then all hours and wages processed in the payroll for this employee will have the assigned split unless manually adjusted in the payroll.
Changing an Employee’s Labor Allocation
When changing allocations, the number can technically be greater than 100% (as you adjust the percentage amounts), but the number should not exceed 100% once completed.
To change an allocation, select the orange edit pencil icon to the left of the allocation. In the next screen, you can adjust the amounts and cost centers as needed. Once finished, select Save.